Getting started
Add, edit, delete a connector
Datazoom provides an easy way to manage data collection. The steps below illustrate the simple process to add a connector.
Contact Datazoom to learn more!
Navigate to the “CONNECTORS” tab
Click “CREATE CONNECTOR” to begin the process to add a connector.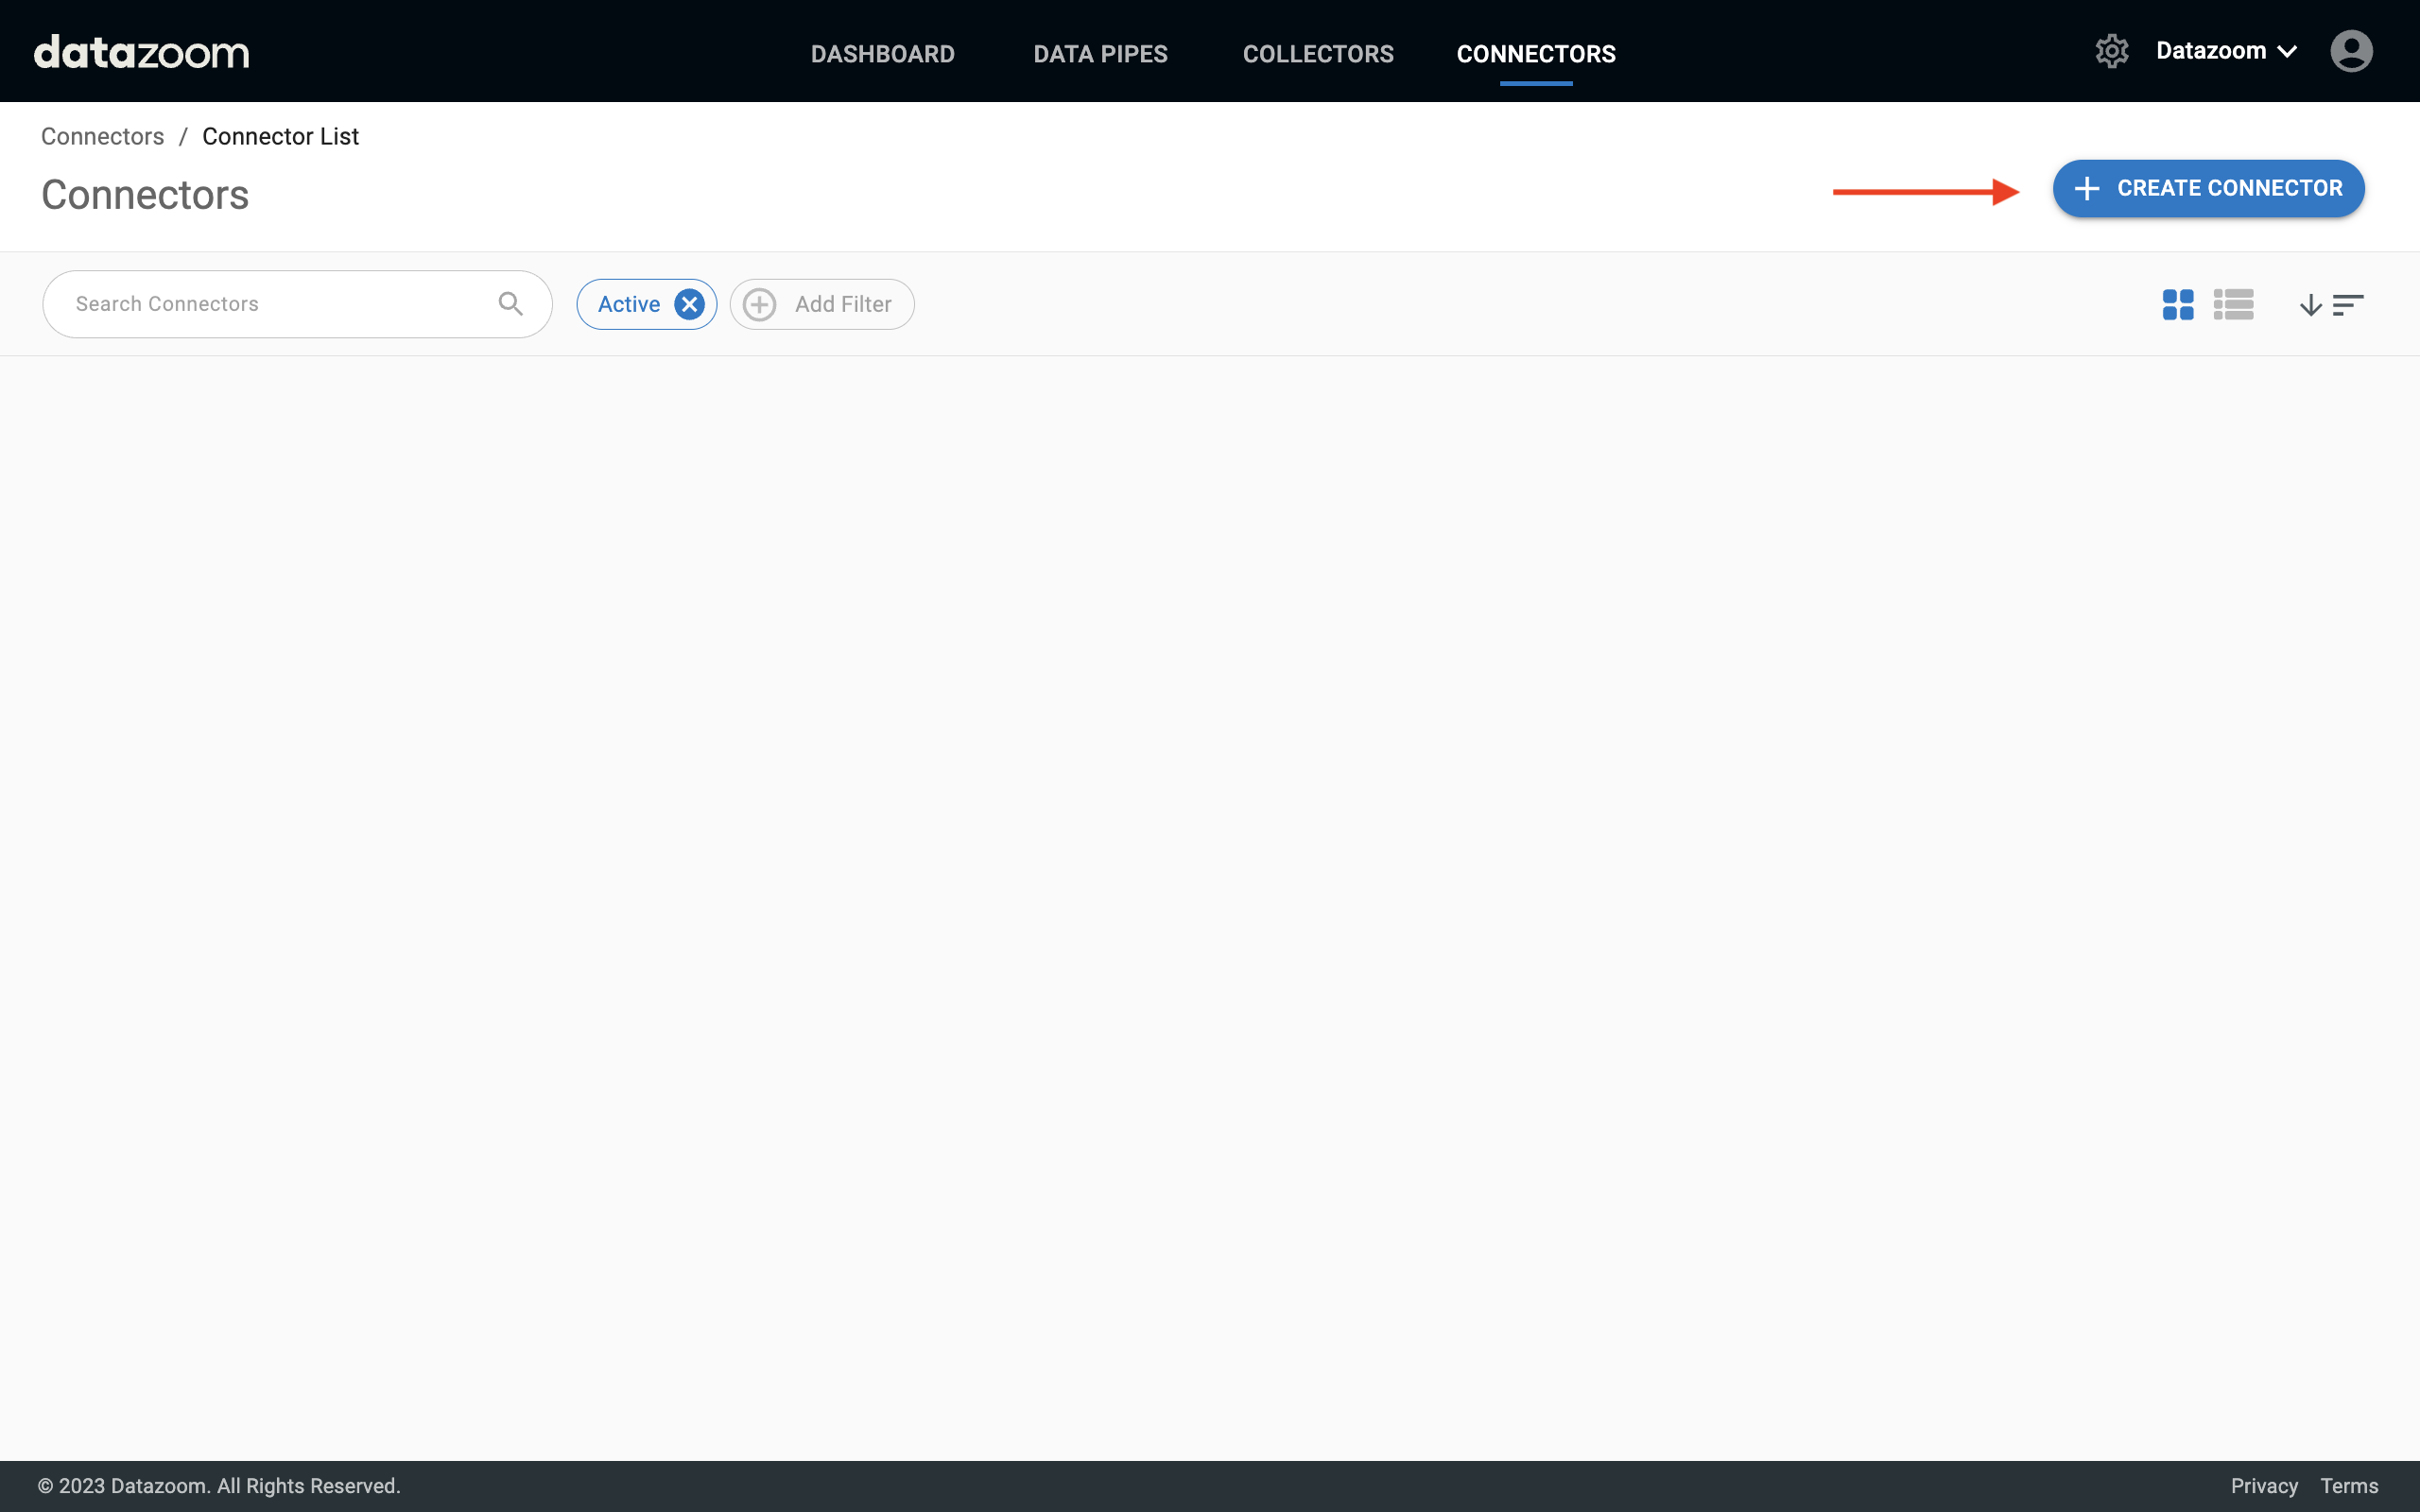
Select a connector from the choices presented.
Select the connector to which you would like the data delivered.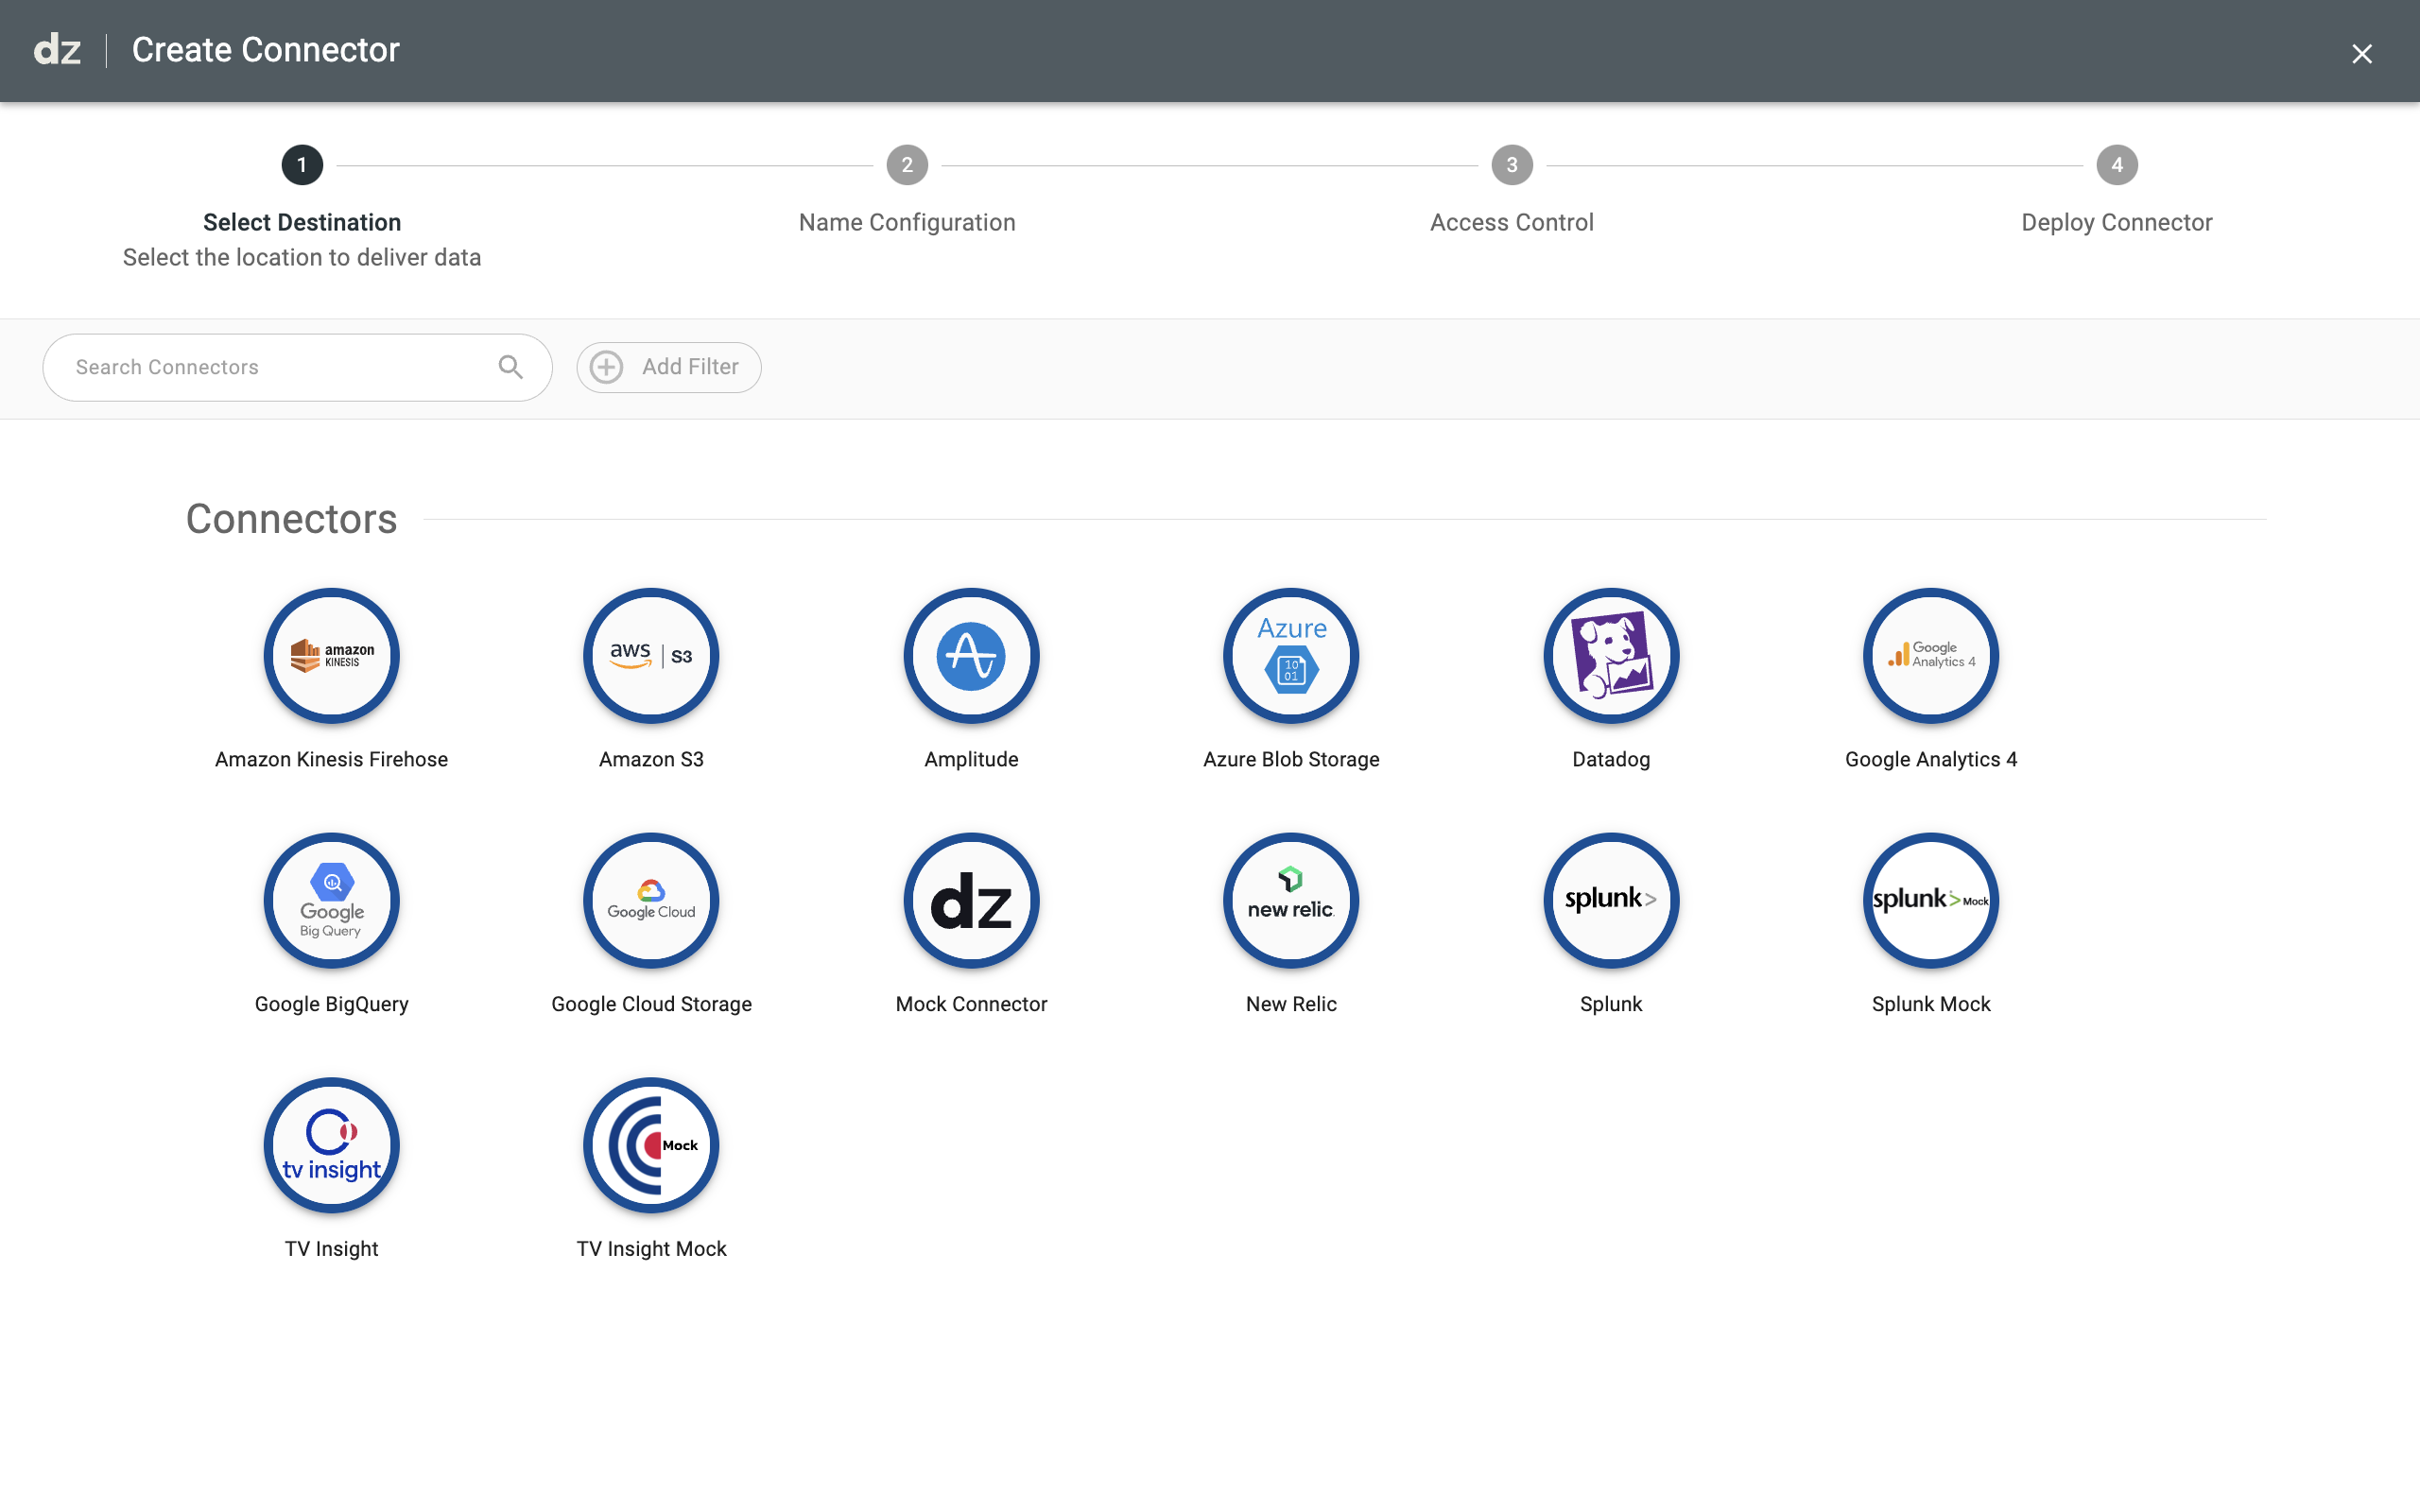
Give your connector a unique name.
Click “NEXT”.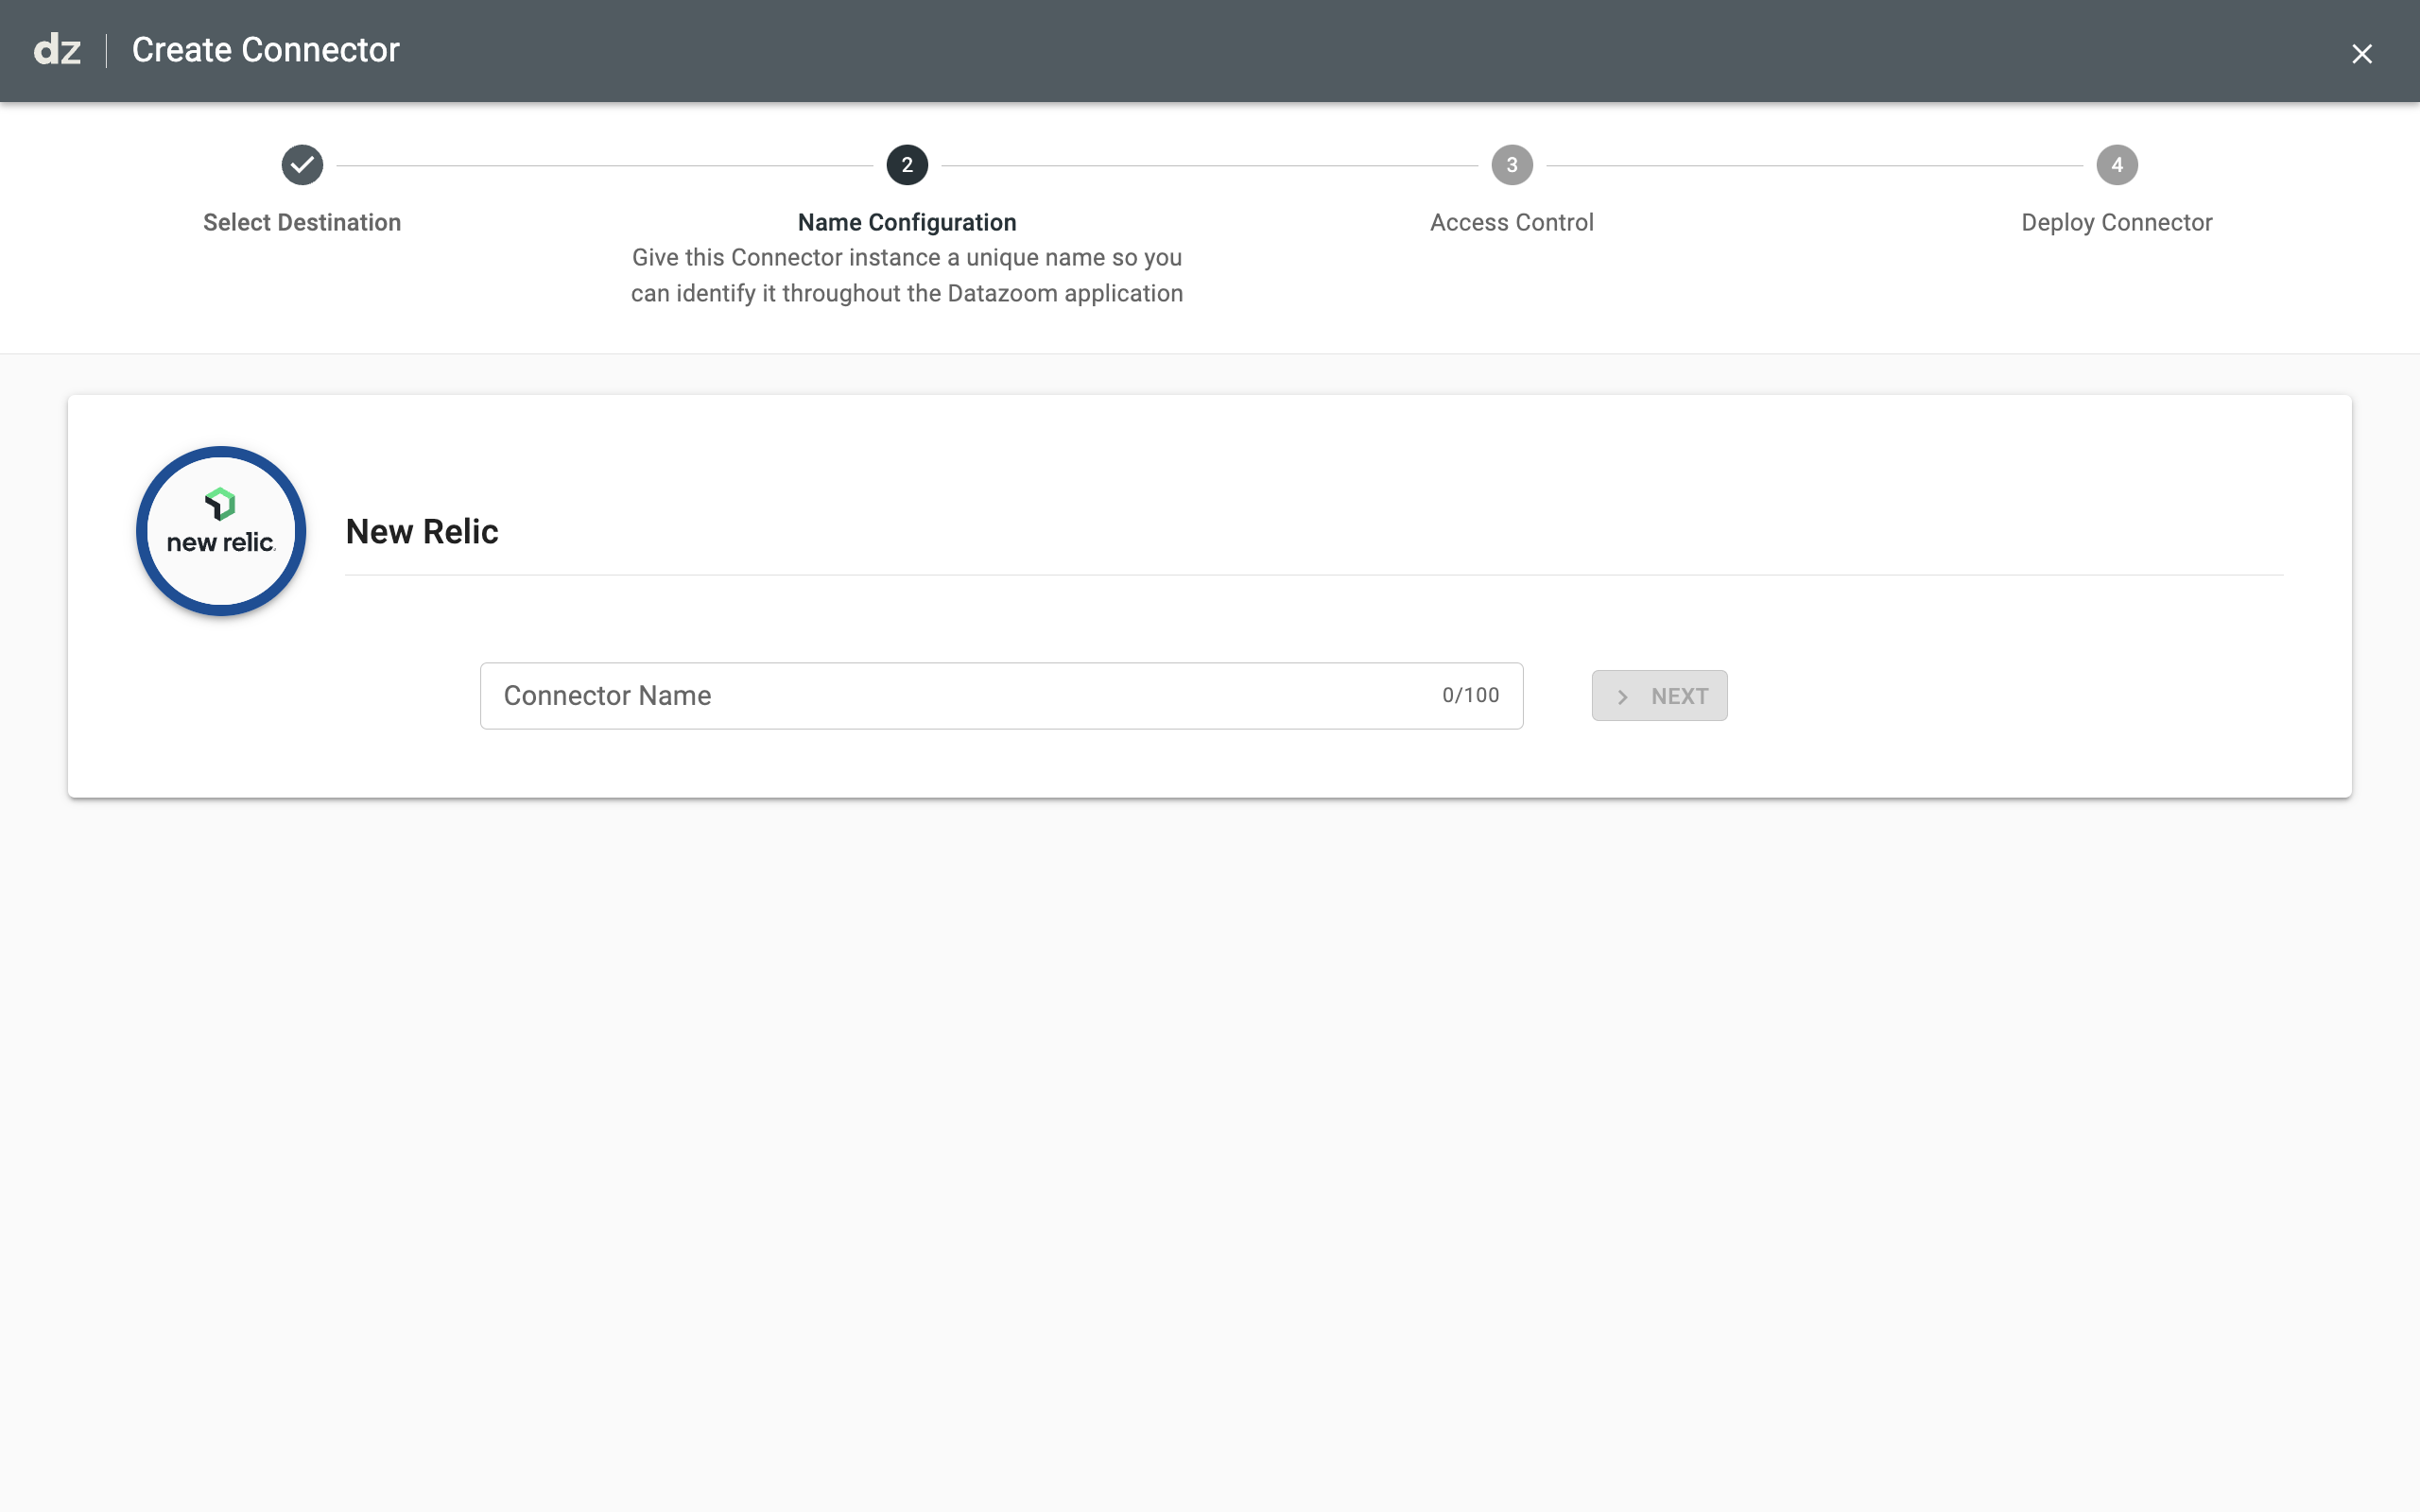
Authenticate the connector.
Add the information needed to authenticate the connector.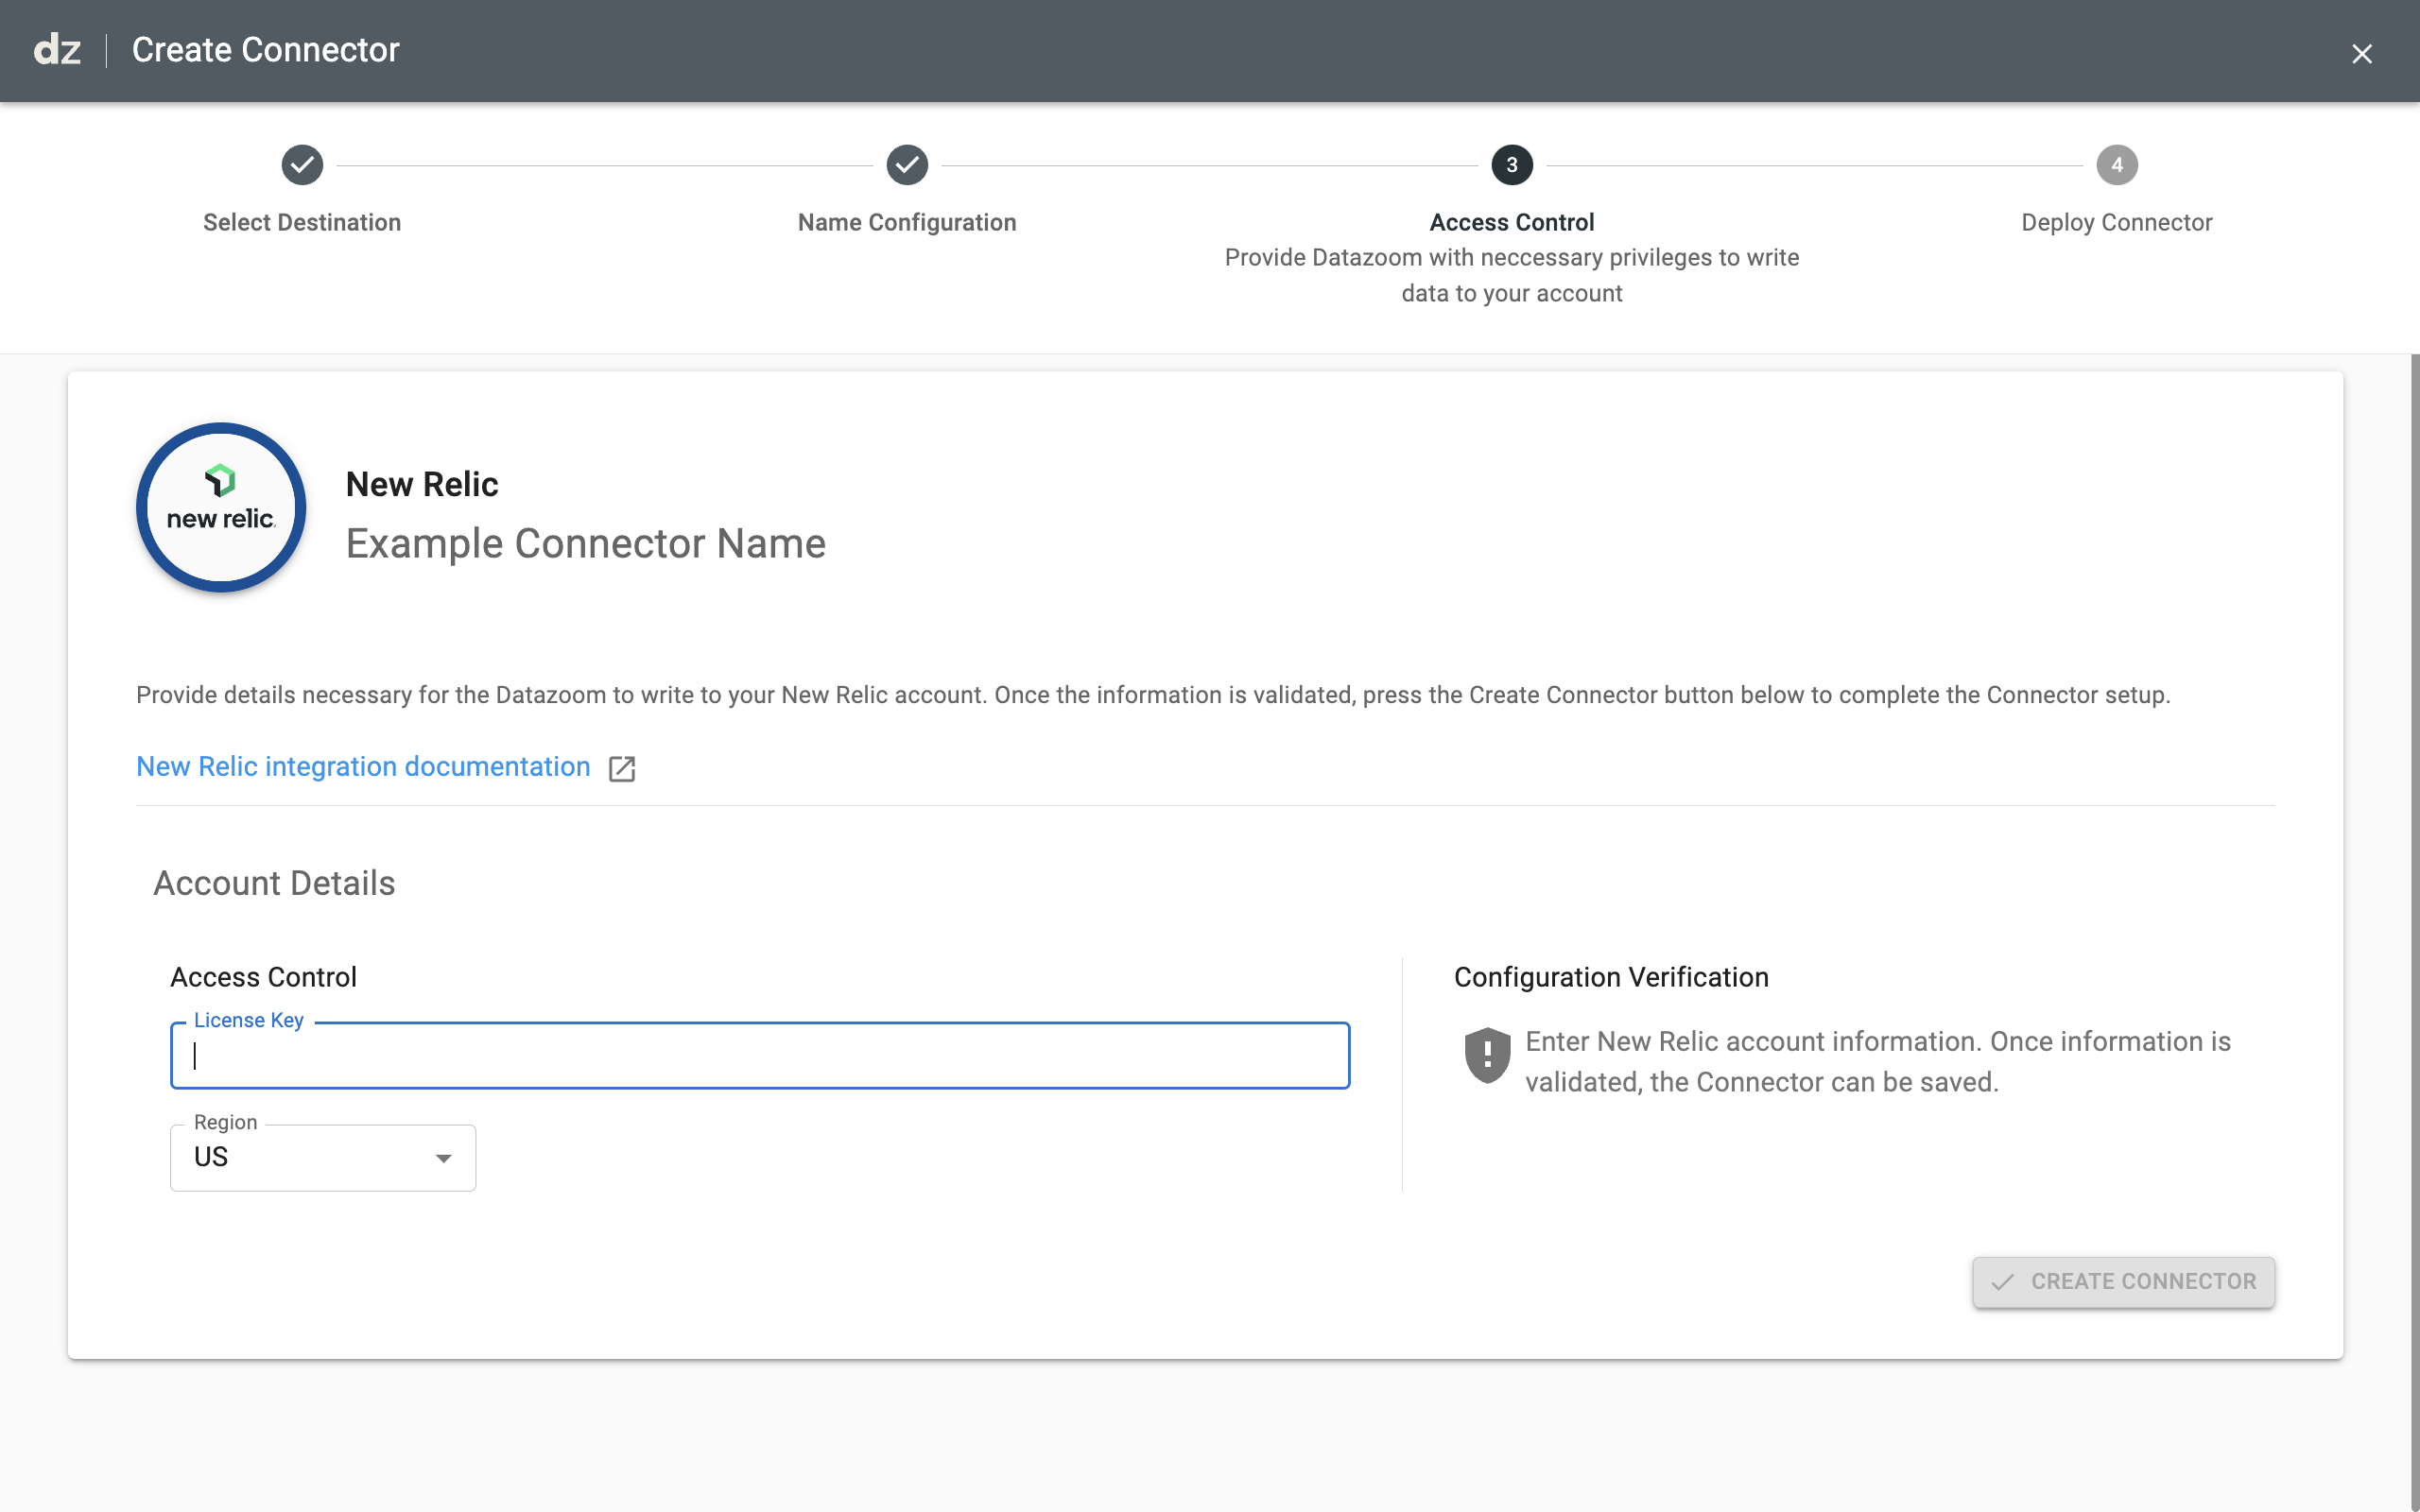
Datazoom's console UI allows an authenticated user with the proper role to edit an existing Connector configuration.
Contact Datazoom to learn more!
Editing a connector is a simple task and allows one to make "codeless" changes to the configuration.
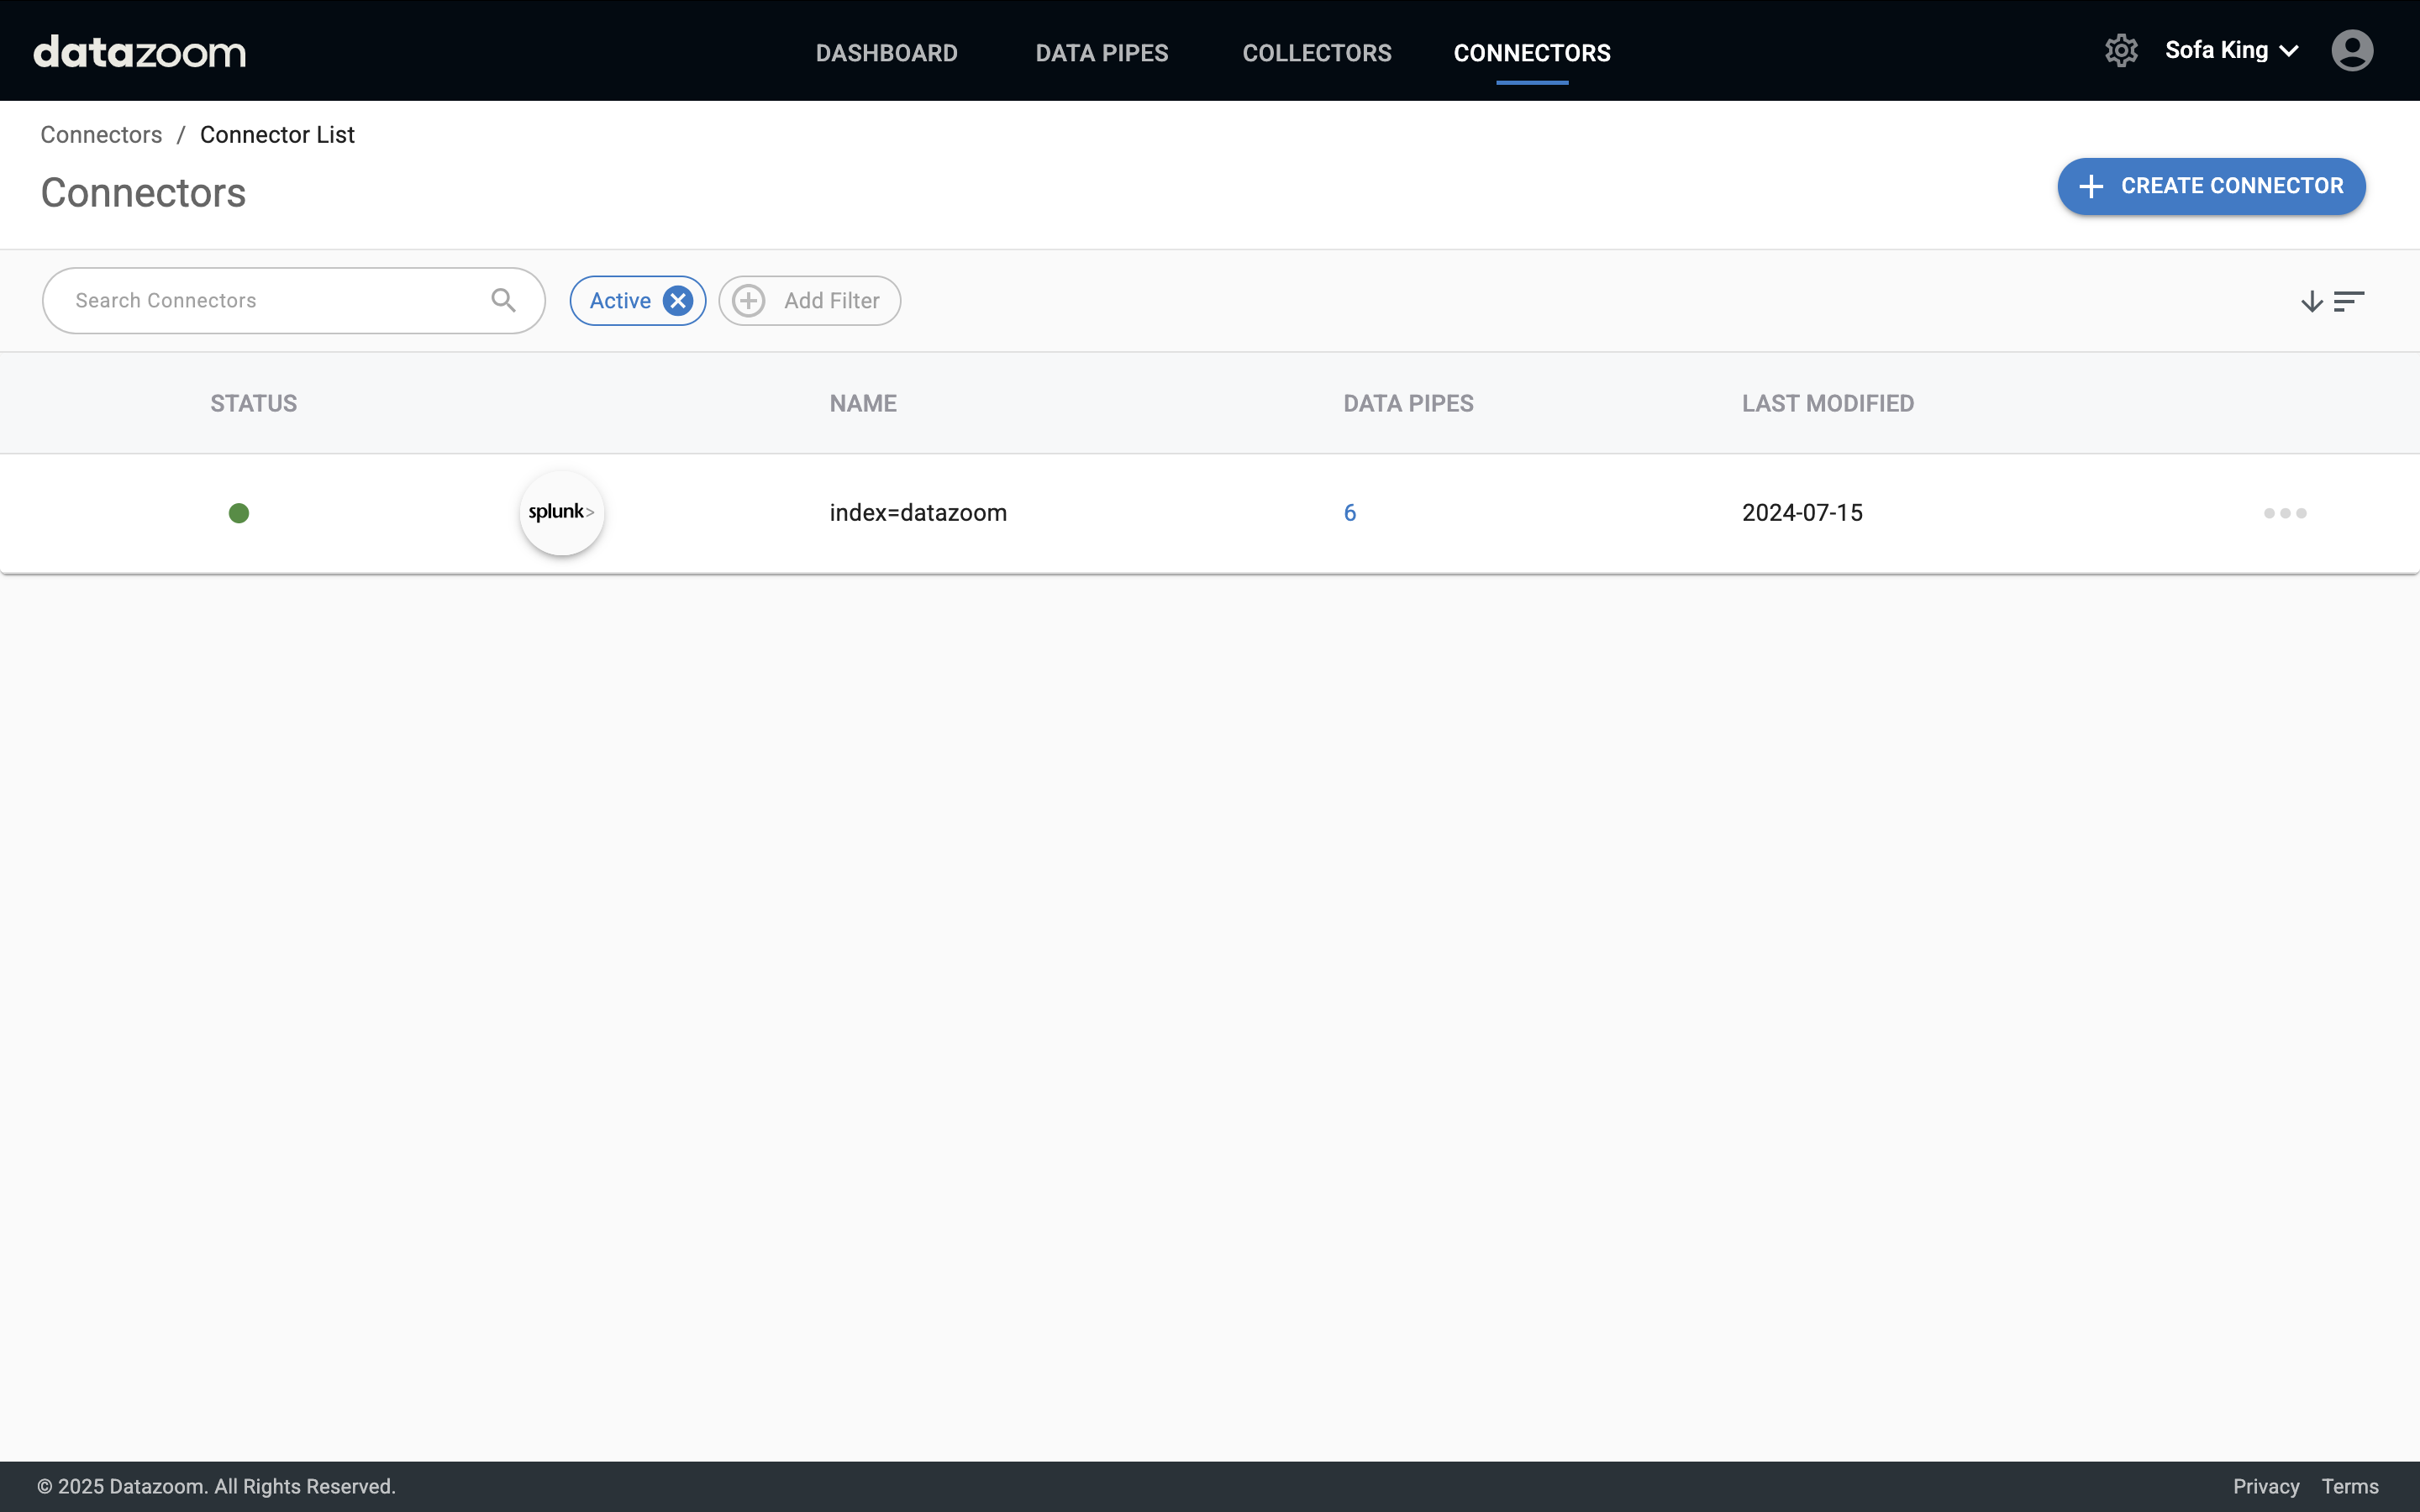
Navigate to the connector list page by clicking on "CONNECTORS". Click on the connector that you wish to edit.
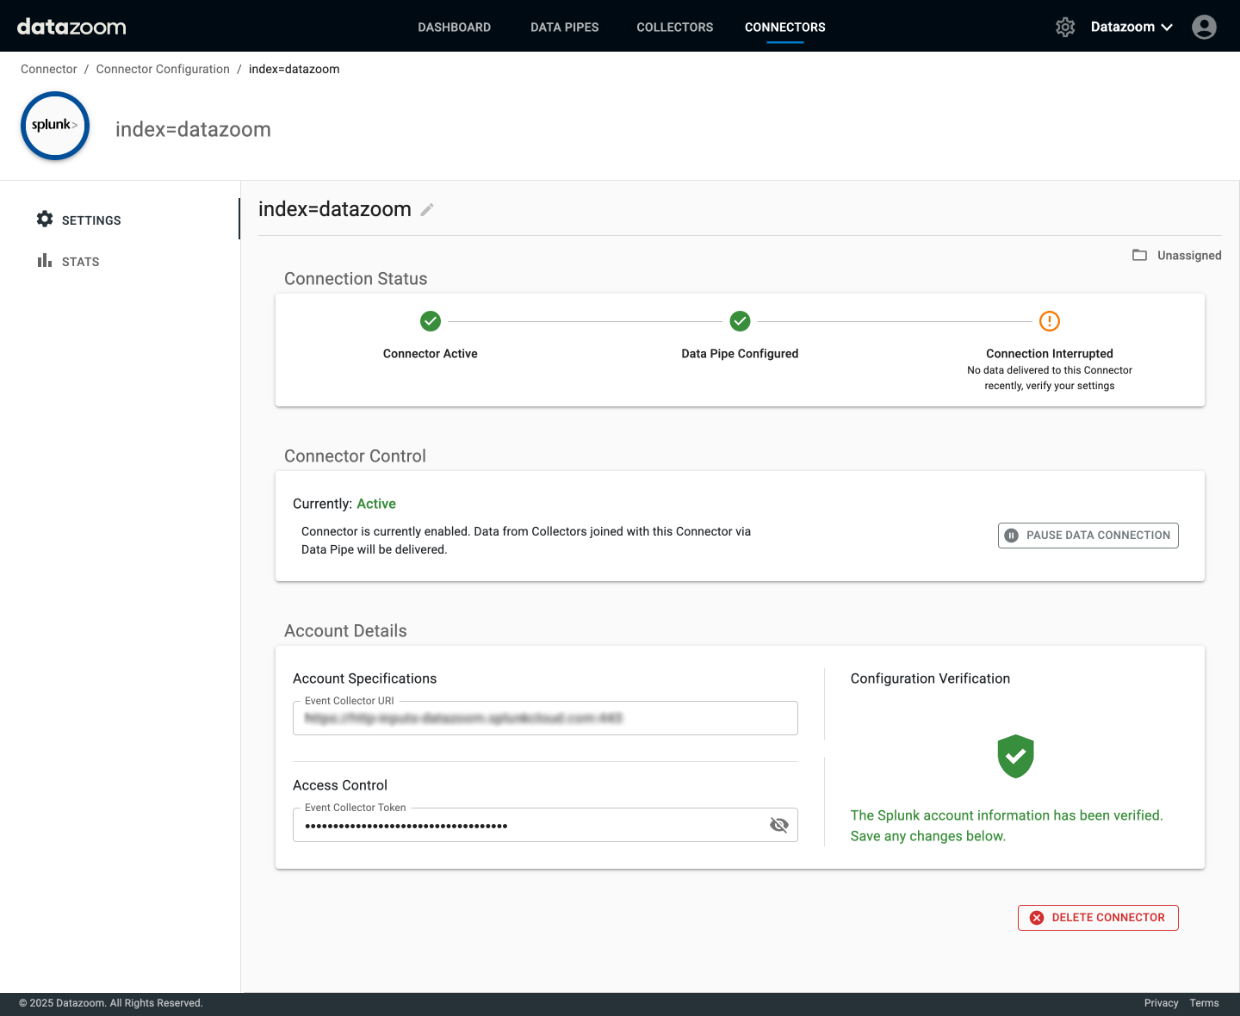
Edit as necessary. You can perform the necessary updates like updating API keys, URLs or any other item that is required for the change you are planning. In addition you can pause the connector or delete it from your account.
Confirm the analytics tool is receiving the expected data via the new configuration.
The next time the player is refreshed or launched will cause data to be sent to the new connector.
Related content