Getting started
How to manage custom data
The Custom Data settings page allows you to organize and standardize custom data points sent to Datazoom from your SDK implementations. This process ensures that your custom data is clearly defined, consistently named, and fully compatible with all platform features like filtering, enrichment, and transformations.
This guide will walk you through the key concepts and workflows for managing your custom data.
Navigating the Custom Data Page
You can access the Custom Data page by navigating to Settings > Custom Data. The page is divided into two panels:
Side Panel: This panel lists all your custom data points, separated into Events and Metadata sections. You can use the Search bar and Add Filter button to find specific data points.
Main Panel: This area displays detailed information and management options for the data point you've selected from the side panel. By default, it prompts you to select a data point.
Understanding Unmapped Keys and Aliases
Your custom data points appear in one of two states:
Unmapped Keys: When Datazoom observes a new custom data point from a collector for the first time, it appears in the side panel as an unmapped key. These are identified by their italicized font in the side panel. Unmapped keys are raw data points to organize.
Aliases: An alias is a standardized, user-defined name for a data point. By creating an alias, you can group synonymous keys together (e.g., bitrate, BitRate, and btrate can all be mapped to a single alias called "Bitrate"). This allows for consistent data processing and analysis. Aliases are displayed in a standard font in the side panel.
The primary workflow is to convert unmapped keys into aliases or map them to existing aliases.
Managing Unmapped Keys
When you select an unmapped key from the side panel, the main panel displays its details, including the collector configurations that are sending the key. From here, you have two primary actions in the "Add to Dictionary" section.
Create An Alias: This option allows you to create a brand-new alias using this unmapped key as the starting point. The unmapped key will automatically become the Master Key (which can be edited) and will be the first key listed in the "Mapped Keys" section of the new alias.
Map to Alias: If an alias for this data point already exists, you can map this unmapped key to it. Clicking MAP TO ALIAS opens an overlay where you can search for and select the appropriate existing alias. The search is limited to aliases of the same data point type (e.g., you can't map a metadata key to an event alias).

Managing Aliases
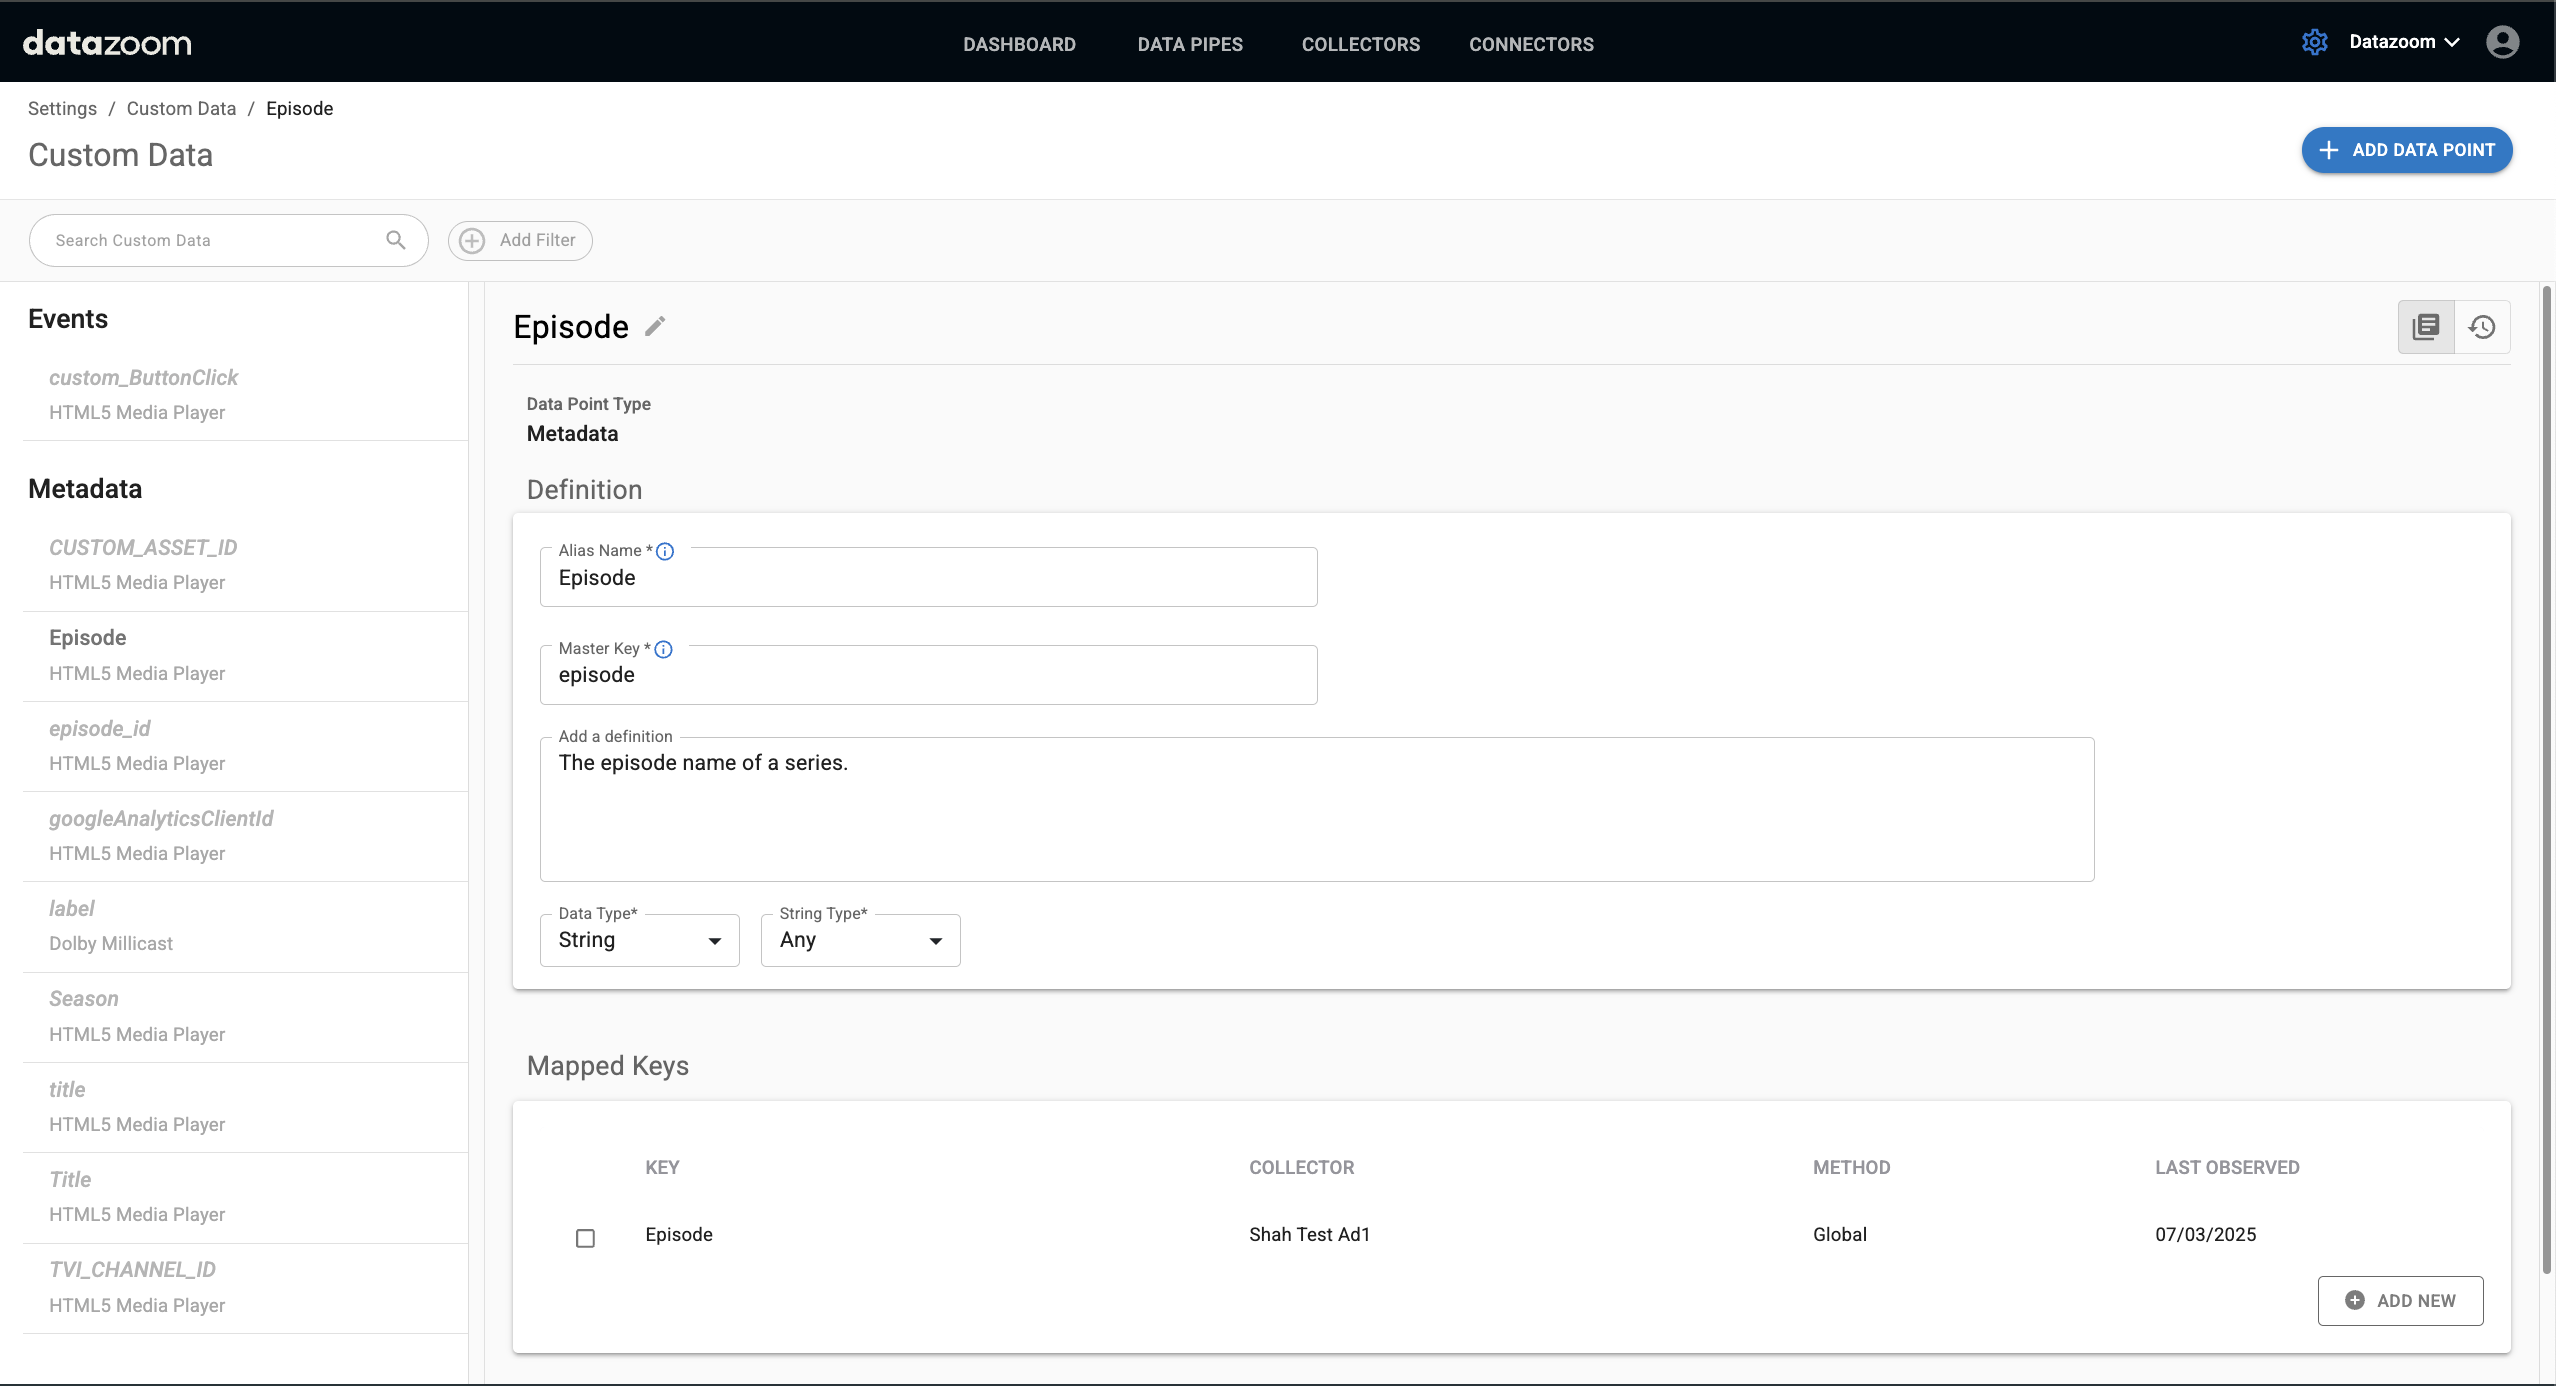
Selecting an alias displays its details in the main panel. Users with administrative privileges can edit these fields. The alias management view is organized into several sections.
Alias Definition
This section contains the core identity of the alias.
Alias Name: The display name for the data point throughout the Datazoom platform.
Master Key: The key that will be sent to your connectors, unless you choose to send the original key name instead. This field is required and must be unique.
Definition: A user-friendly, natural language description of what the data point represents.
Data Type: For metadata aliases, you must define the data type. The available types are Boolean, Number, String, and Array of strings.
Defining Data Types
Specifying a data type for metadata unlocks further validation and enrichment capabilities.
Number: If you select "Number," you can define the Unit (e.g., Milliseconds, Bytes, Pixels) and Number Type (e.g., Int, Float, Double). For decimal types like Float or Double, you can also specify the number of decimal places allowed and set minimum or maximum values.
String: For "String" or "Array of strings," you can specify the format, such as "URL," "IP Address," or a custom "Value List”. If you choose Value List, a "Manage" link will appear, allowing you to define a specific set of allowed string values in an overlay.
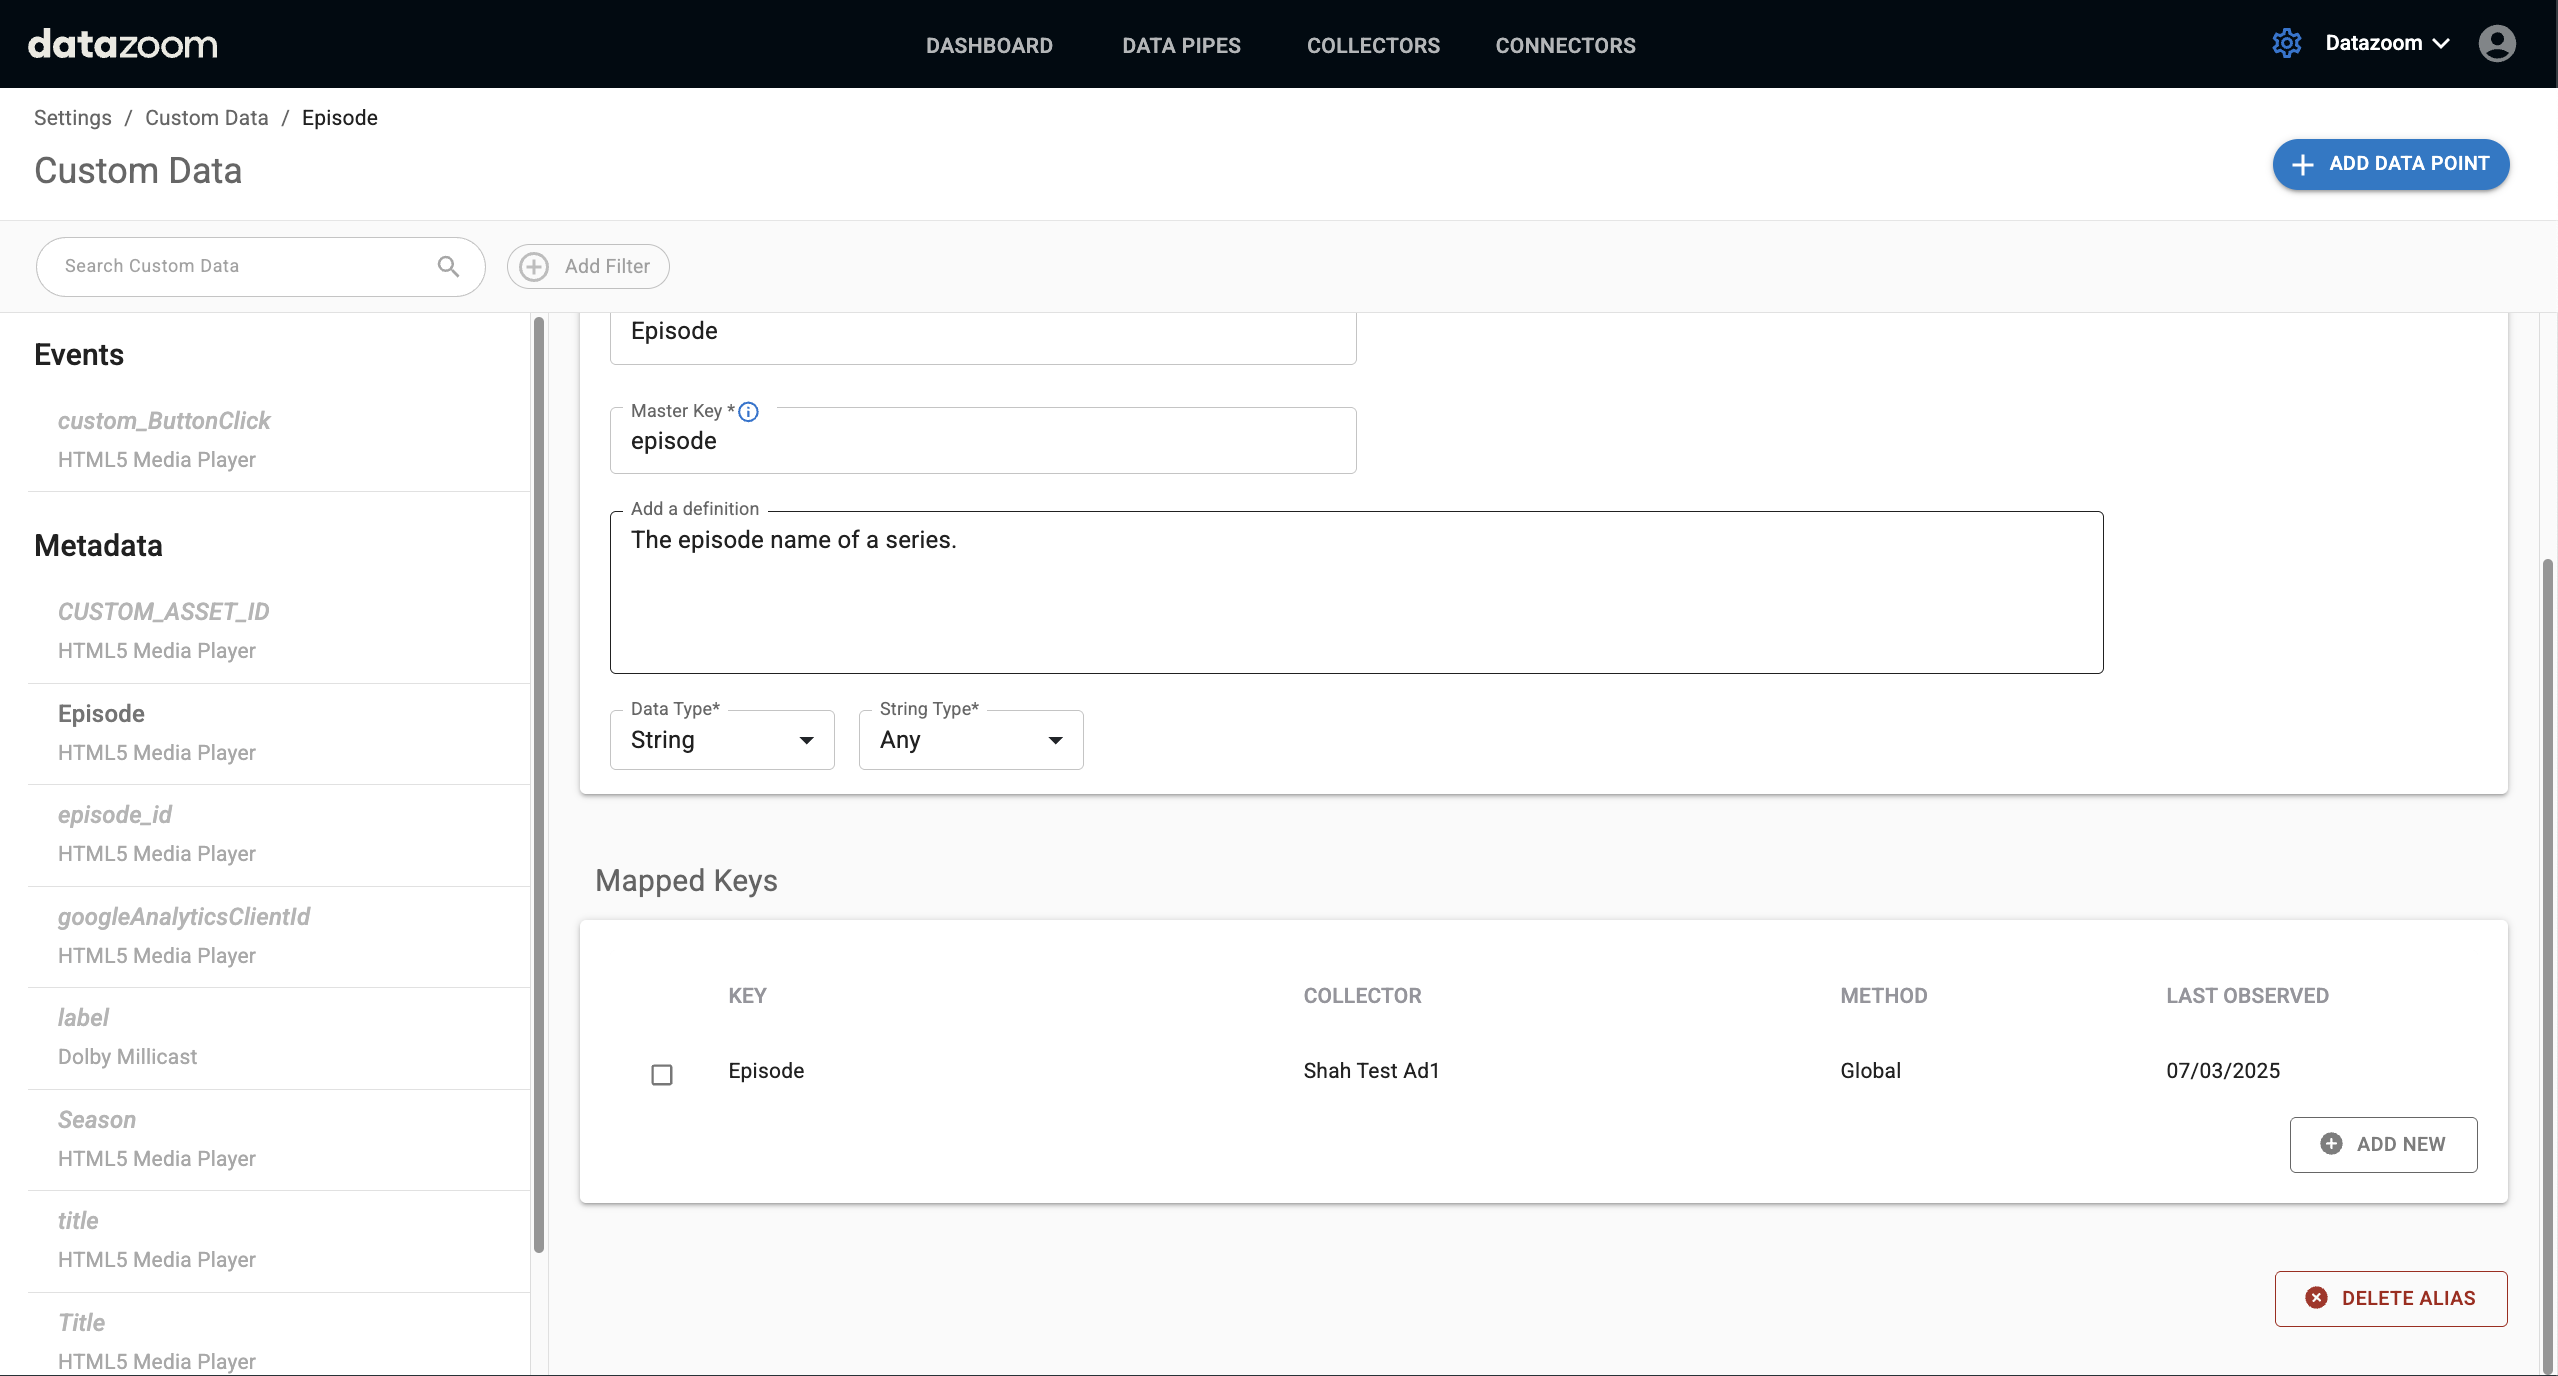
Source Collector Mapped Keys
This section lists all the individual source keys that are mapped to this alias.
Unmap Keys: To unmap a key, select its checkbox and click the REMOVE button. This action reverts the key to an unmapped key.
Map New Keys: To add another key to this alias, click the ADD NEW button. This opens the "Select unmapped key" overlay, where you can find and select an existing unmapped key to map to this alias. You can also pre-map a key that has not been observed yet by clicking Create a new key.
Viewing Change History
You can view a complete log of all changes made to an alias, including who made the change and when. To access this, click the history icon at the top right of the alias panel. This will switch the view to the change history log.
Using Custom Data in Data Pipes
Once you have created aliases, they become available for selection within your Data Pipes, just like standard data dictionary points.
In the Data Points tab of a Data Pipe, your aliases will appear under Custom Events or Custom Metadata. You can select them for collection by checking the box next to the alias name.
By default, the master key you defined in the alias will be sent to your connectors. However, you can choose to send the original, unmapped key name instead. To do this, hover over an alias and click the three-dot icon to set the preference to send the original key name.